How to Export Submissions in Form Vibes (CSV + Google Sheets)
Exporting form submissions manually is straightforward the first time. Select your form, download the CSV, open it in a spreadsheet. The problem starts when you need the same export every week, same form, same filters, same fields and you are reconfiguring the settings from scratch each time.
Form Vibes Export Profiles solve this. Create an export configuration once, save it, and re-run it in a single click whenever you need it. You can export directly to a CSV file or set up automatic sync to a Google Spreadsheet so every new submission lands there in real time.
This guide covers the Export Profiles feature from setup to running your first export.
Before You Start
Form Vibes Pro installed and active on your WordPress site
At least one supported form plugin capturing submissions
What Is Quick Export and When Is It Enough?
Form Vibes includes a Quick Export button in the submissions toolbar that downloads all entries for the currently selected form as a CSV file immediately. No configuration is needed. The file opens directly in Excel or Google Sheets.
Quick Export is available in the free version of Form Vibes and exports up to 1,000 entries per download. If you produce a weekly leads report filtered to a specific form and date range, Quick Export requires you to set those conditions manually every single time. Export Profiles replace that repetitive workflow with a saved configuration that runs in one click.
Form Vibes Quick Export is completely free. Select your form, click export, and your submissions download as a CSV in seconds – no setup, no configuration needed.
What Is an Export Profile ?
An Export Profile is a saved export configuration stored in Form Vibes. It remembers your chosen form, date range, filter conditions, and which fields to include in the exported file. Once saved, you can trigger the same export from the Export Profiles list without touching any settings again.
Export Profiles support two output types. Local Download exports submissions as a CSV file that downloads directly to your computer. Google Sheets connects to a Google Spreadsheet via OAuth and pushes every new submission to a selected sheet automatically in real time.
Setting Up Your First Export Profile
Setting up an Export Profile takes a few minutes and only needs to be done once per report or workflow.
1
Create an Export Profile
Go to Export Profiles and click Add New Navigate to Form Vibes > Export Profiles in your WordPress admin and click Add New.
2
Choose your Profile Type
At the top of the settings page, select your output type. Choose Local Download to export submissions as a CSV file. Choose Google Sheet to sync submissions automatically to a Google Spreadsheet.

3
Configure the Data Source
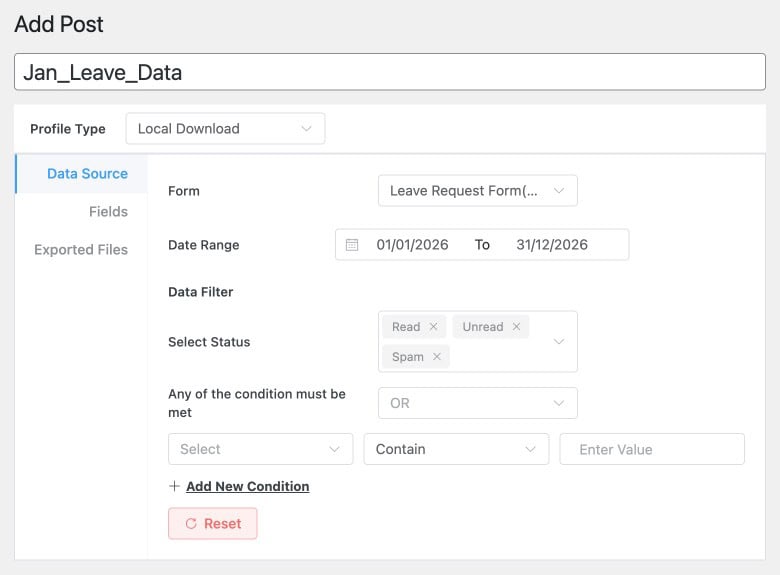
Open the Data Source tab. This is where you define which submissions to include in the export.
Select your form from the Form dropdown. All forms from all supported plugins appear in this list — Contact Form 7, WPForms, Elementor Forms, Gravity Forms, and others.
Set the Date Range for the export. Choose a preset period such as Last Week, Last Month, or Last Quarter, or set a custom start and end date if you need a specific window.
Add Filter Conditions to narrow the dataset further. Click Add New Condition, select a form field, choose a condition type (equals, contains, greater than, and others depending on field type), and enter the value to match. Stack multiple conditions with AND or OR logic between them to build precise export rules.
4
Choose Which Fields to Include
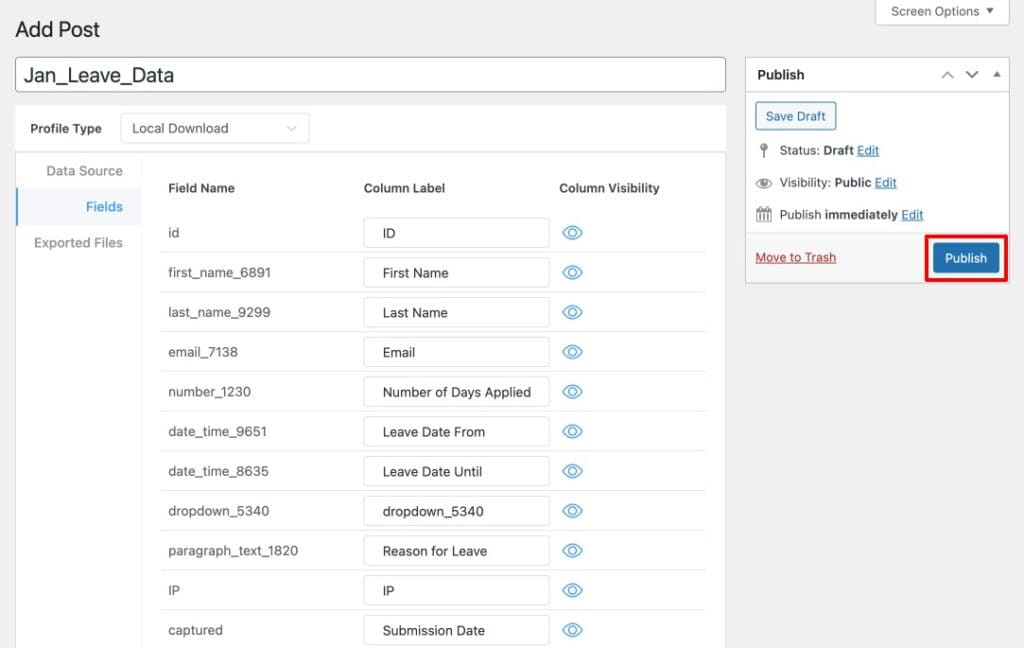
Open the Fields tab. All available fields from the selected form are listed here with visibility toggles. Turn off any fields you do not want to appear as columns in the exported file. Only the fields you leave enabled will be included in the CSV output.
5
Publish and Save
Click Publish to save the Export Profile. It is now stored and ready to run any time you need it – no reconfiguration required on future runs.
Running an Export and Managing Your Export History
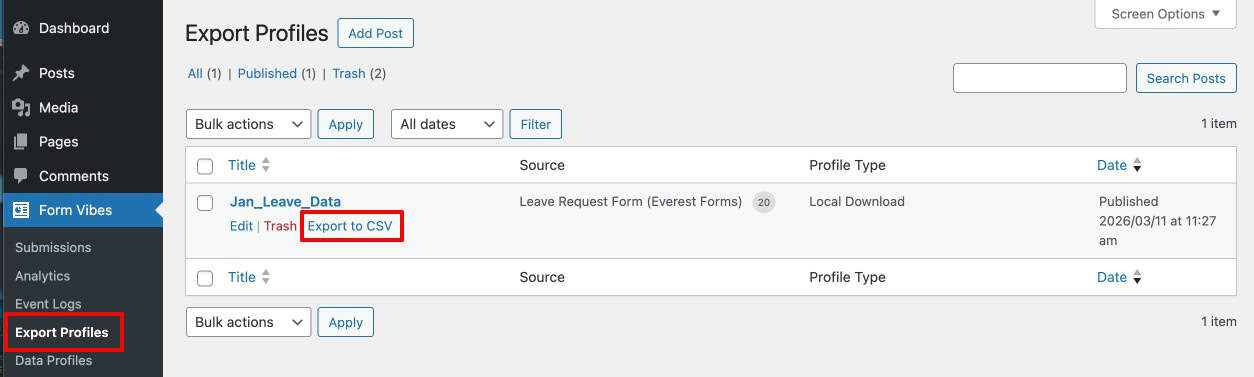
Once your Export Profile is saved, go to Form Vibes > Export Profiles to see the full list of saved profiles. Each profile shows its name, the associated form, and action buttons.
To run an export, open the profile and click Export Data. A confirmation popup appears. Click Download File and Form Vibes generates the CSV file based on your saved settings and downloads it immediately.

The Export Files tab inside each profile keeps a history of every file previously generated from that profile. From this tab you can re-download any past export or delete files you no longer need.

Tips: Give each Export Profile a descriptive name that includes the form name and the report type – for example “Monthly Contact Form Leads” or “Weekly WPForms Enquiries.” This keeps the profiles list readable as it grows.
Sending Submissions to Google Sheets Automatically
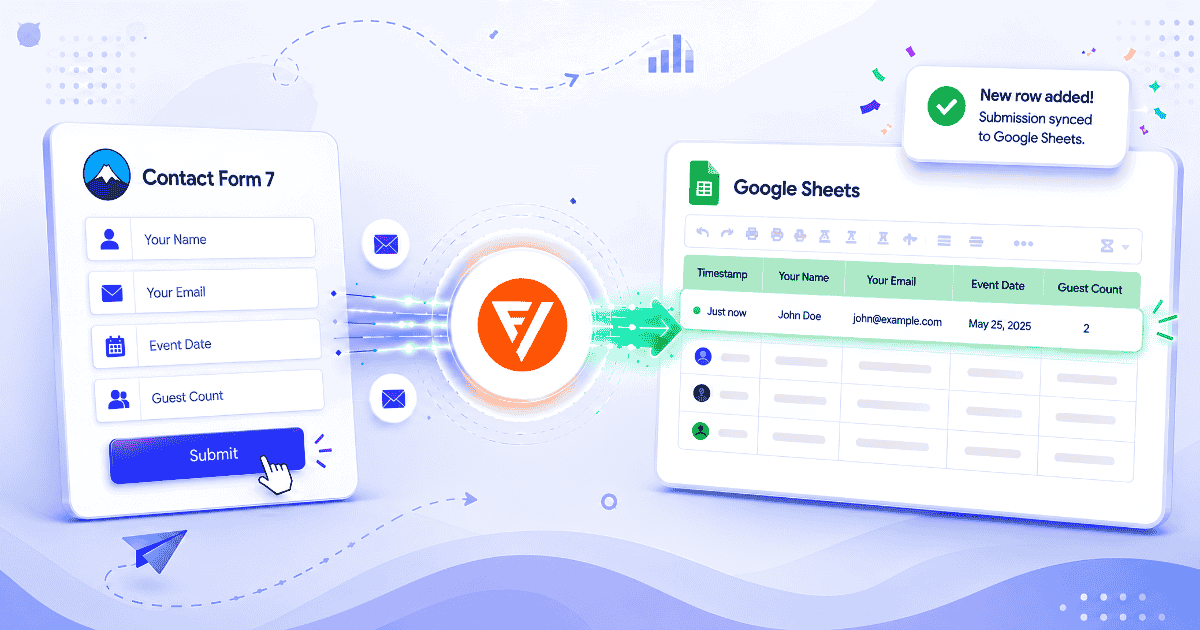
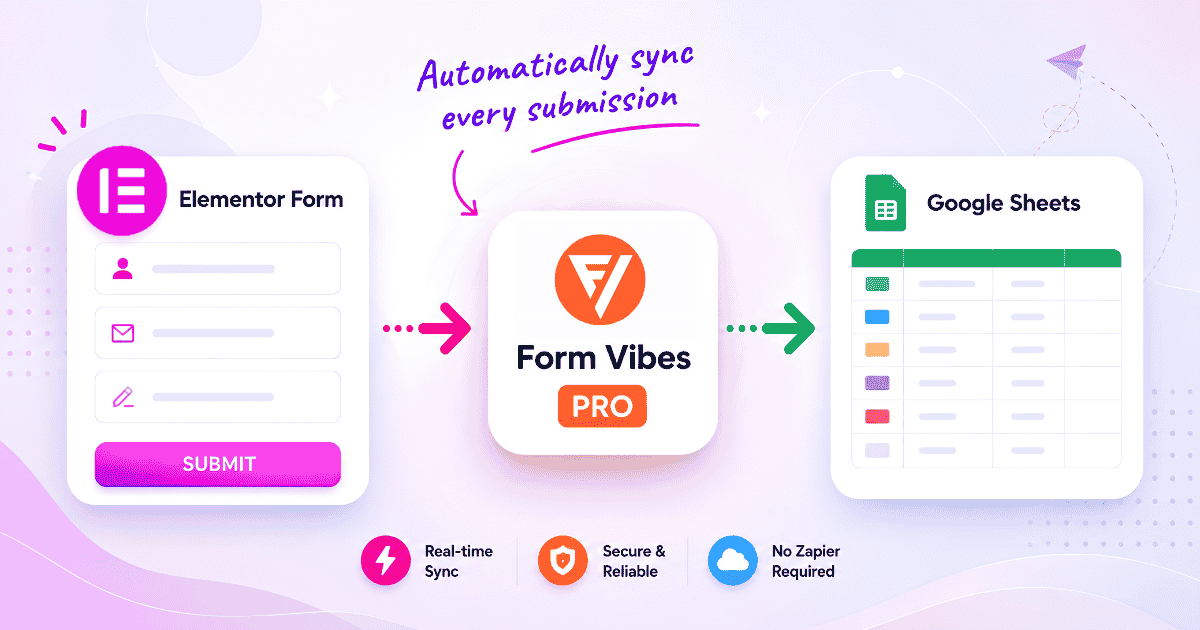
Selecting Google Sheet as the Profile Type turns an Export Profile into an automatic sync rather than an on-demand download. Every new submission that arrives on your site is pushed to the connected Google Spreadsheet within moments of being submitted, no manual export step needed.
To configure a Google Sheets Export Profile, create a new Export Profile and select Google Sheet as the Profile Type. Form Vibes prompts you to connect your Google account via OAuth. Once connected, select the spreadsheet and the specific worksheet where submissions should be sent.
After selecting the worksheet, map each form field to the corresponding column in the sheet. Each field from your form appears in a mapping interface where you assign it to a column in the spreadsheet.
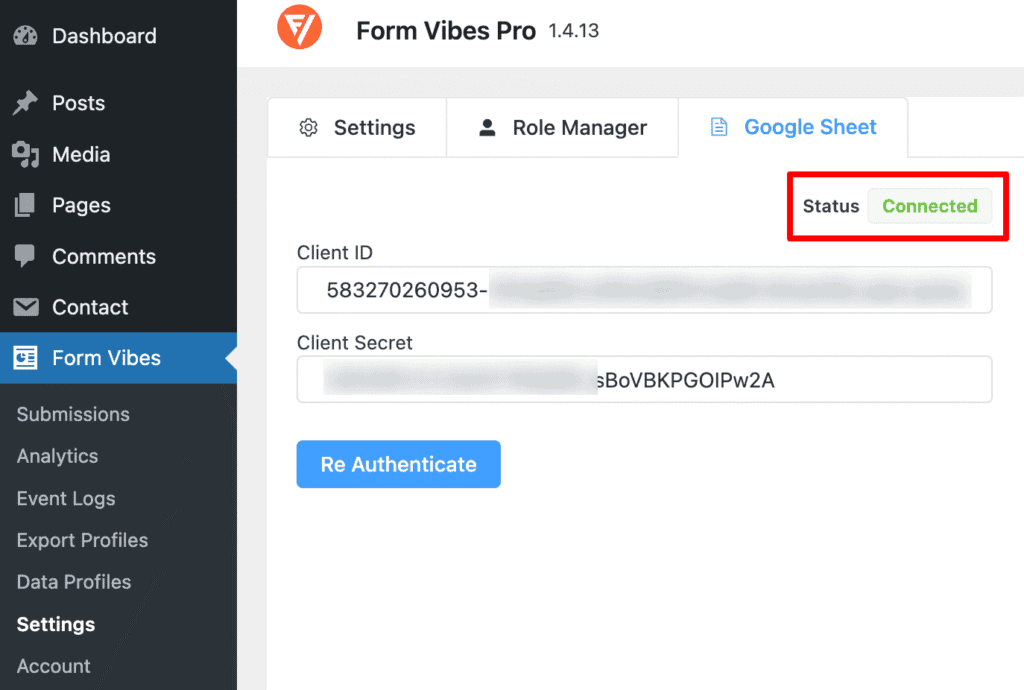
Save the profile and the sync activates immediately. Every new form submission captured by Form Vibes from that point forward is pushed automatically to the connected spreadsheet.
Important: The Google Sheets integration requires Form Vibes Pro and an active Google account. The OAuth connection links Form Vibes to your Google account securely and does not store your Google credentials in WordPress.
Conclusion
Export Profiles replace the repetitive process of manually configuring form submission exports with a saved, reusable workflow. Set up the form, date range, filters, and fields once, save the profile, and every future export takes one click. For teams who need live data without logging into WordPress, Google Sheets sync keeps a connected spreadsheet updated automatically with every new submission.
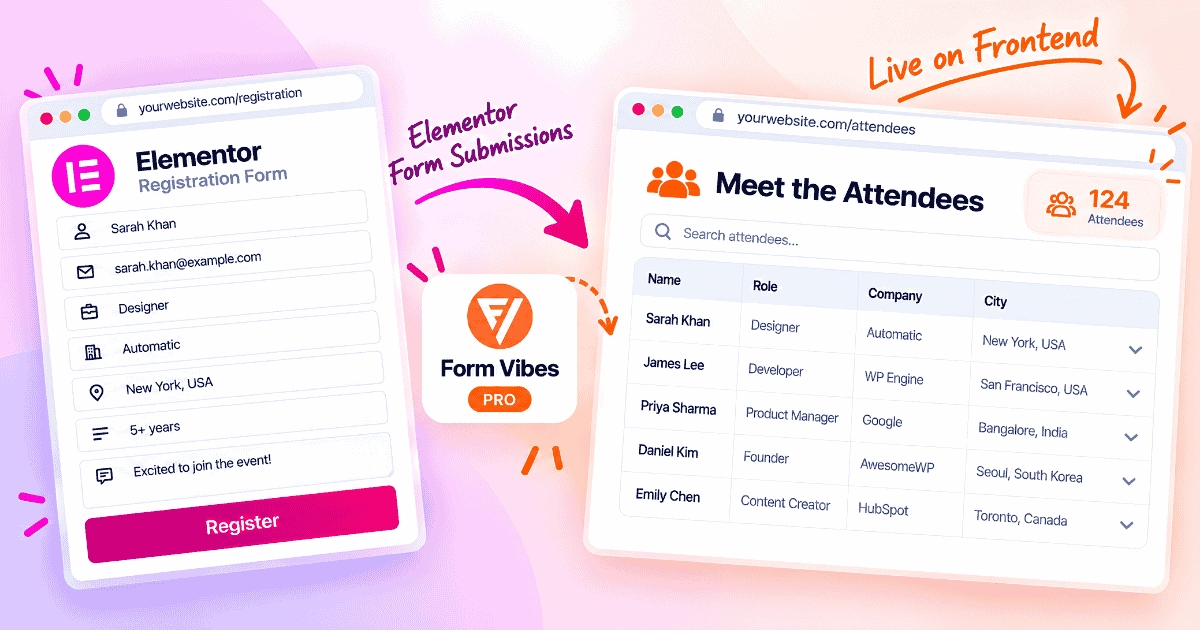
Need to set up Form Vibes to capture submissions from your form plugin first? See the guides for Contact Form 7, WPForms, and Elementor Forms.

Stop setting up the same export every time
If you are already capturing form submissions, Export Profiles save your exact settings once and run in one click whenever you need them – CSV download or Google Sheets sync, your choice.
Frequently Asked Questions
Common questions about exporting WordPress form submissions in WordPress.
What is an Export Profile in Form Vibes?
An Export Profile is a saved export configuration in Form Vibes Pro. It stores your chosen form, date range, filter conditions, and field selection so you can re-run the same export in one click any time without reconfiguring the settings. Export Profiles support two output types: Local CSV Download and automatic Google Sheets sync.
Is the Export Profiles feature available in the free version of Form Vibes?
No. Export Profiles are a Form Vibes Pro feature. The free version of Form Vibes includes Quick Export, which downloads all entries for the selected form as a CSV file in one click, up to 1,000 entries per export. Form Vibes Pro removes the entry limit and adds Export Profiles with filtering, field selection, and Google Sheets sync.
Can I filter submissions before exporting them with an Export Profile?
Yes. The Data Source tab inside each Export Profile includes a Filter Conditions section where you can add multiple conditions based on form field values. Set a field name, condition type, and value, and stack conditions with AND or OR logic. Only entries matching your conditions will be included in the exported file.
Can Form Vibes send form submissions to Google Sheets automatically?
Yes, with Form Vibes Pro. Select Google Sheet as the Profile Type when creating an Export Profile, connect your Google account via OAuth, choose the destination spreadsheet and worksheet, and map your form fields to specific sheet columns. Every new submission captured by Form Vibes is pushed to the connected spreadsheet automatically in real time.
What is the difference between Quick Export and an Export Profile?
Quick Export downloads all entries for the currently selected form immediately in one click with no saved settings. It is available free and exports up to 1,000 entries. An Export Profile saves a complete configuration including form, date range, filters, and field selection that can be re-run any time. Export Profiles are Form Vibes Pro only and have no entry limit.


Leave a Reply