How to Configure Contact Form 7 to Capture Leads in WordPress

Contact Form 7 is one of the most installed WordPress plugins ever built. Getting a form live takes minutes. The part most people do not think about until a lead goes missing is what happens to the submission after someone hits Send.
By default, CF7 sends every submission as an email notification and stores nothing in the database. One misconfigured mail server, one spam filter making the wrong call, and that lead is gone permanently. This guide covers the full CF7 setup for reliable lead capture creating the form, configuring email settings correctly, embedding it on your site, and adding the one extra step that makes sure every submission is stored regardless of email delivery.
Before You Start
Contact Form 7 installed and activated
An email address your team actively monitors for lead notifications
Form Vibes installed and active
Installing Contact Form 7
Go to Plugins > Add New in your WordPress admin, search for “Contact Form 7”, and click Install Now then Activate. The plugin creates a default contact form automatically, accessible at Contact > Contact Forms > Contact Form 1, which you can edit or use as a starting point.

Once activated, a Contact menu item appears in your WordPress admin sidebar. All your forms are managed from here.
Creating and Customising Your Lead Capture Form
Go to Contact > Add New to create a fresh form. Give it a descriptive name, “Enquiry Form” or “Homepage Enquiry Form”, so it is easy to identify when managing multiple forms later.
The form editor shows the default form template with field tags already placed. Field tags are shortcodes that generate specific input types when the form is displayed on the frontend. The available field types include text, email, textarea, select dropdown, checkbox, radio button, number, date, file upload, and URL.
To add a field, click the corresponding button above the form editor, for example, clicking Email generates a field tag you can drop into the form template. For each field, a configuration popup lets you set whether the field is required, its default value, and the ID or class to apply for styling.

Tips: Mark your Email field as Required. For a lead capture form, an email address without a required toggle means visitors can submit without leaving any way to follow up.
Configuring Email Notifications
The Mail tab controls where submissions go and what the notification email contains. This is the most important configuration step for lead capture, getting it wrong means leads either go to the wrong place or are impossible to reply to efficiently.
Open your form and click the Mail tab. Configure each setting with care.
To — the email address where lead notifications are sent. Enter the address your team monitors actively. You can add multiple addresses separated by commas to notify several people simultaneously.
From — the sender identity on the notification email. Use a format like [your-name] <[email protected]>. Some hosting providers reject emails where the From address does not match the site’s domain, use a domain-matching address here to avoid delivery issues.
Subject — the subject line for the notification email. Use mail tags to make subjects dynamic and scannable, for example, New enquiry from [your-name] pulls the submitter’s name into the subject line automatically.
Message Body — the main content of the notification email. Include all the field tags from your form so every piece of submitted data appears in the email. Use the Mail Tags reference below the editor to find the correct tags for each field.
Additional Headers — set this to [your-email] (the field tag for your email input). This is one of the most overlooked CF7 settings. With Reply-To configured correctly, clicking Reply in your email client sends your response directly to the lead. Without it, you reply to your own notification address and the lead never receives your response.

Mail (2) — a second email action that fires on the same submission. Use this to send an automatic confirmation to the person who submitted the form. Enable it, set the To field to [your-email] (the submitter’s email address), and write a brief confirmation message. This lets leads know their enquiry was received without you having to reply manually to every submission.
CF7 has no database storage built in. Form Vibes captures every submission the moment it is submitted, before the email even sends – so a failed notification never means a lost lead.
Customising Form Messages
The Messages tab controls what text appears to the visitor at different points in the form interaction. Open the Messages tab to review and update the defaults.
The most important message for lead capture is the Submission Confirmation, the text shown after a successful submission. The default reads “Thank you for your message. It has been sent.” This is functional but generic. A more specific message sets expectations -“Thank you for getting in touch. We will respond within one business day.” This reduces follow-up messages from leads wondering if their submission arrived.

Other messages worth reviewing: the validation error message for required fields, the spam detection message, and the mail send failure message (shown if CF7 cannot send the notification email, though this does not mean the lead was captured).
Adding the Form to a Page
Go to Contact > Contact Forms and copy the shortcode shown next to your form. The shortcode looks like [contact-form-7 id="..." title="..."].

Open the page where you want the form to appear and paste the shortcode into the content area using a Shortcode block in the Gutenberg editor. Alternatively, use the CF7 block, search for “Contact Form” in the Gutenberg block inserter and select your form from the dropdown. Publish or update the page.

Tips: Create a dedicated Contact page for your form rather than embedding it in multiple locations across the site. When you add Form Vibes later, a single page URL makes it straightforward to confirm every submission is coming from the expected location.
Testing Your Form Before Going Live
Open the page containing your form on the frontend and submit a test entry using your own name and email address. Confirm the following:
The notification email arrives in the inbox configured in the To field. The Reply-To is set correctly, reply to the notification email and confirm it goes to the address you used in the test submission, not to your own address. All fields appear in the message body. If you enabled Mail (2), check that a confirmation email arrived at the address you used in the test.
If the notification email does not arrive, the problem is with your server’s mail configuration rather than CF7 itself. This is one of the most common CF7 issues, shared hosting environments frequently have unreliable default mail setups. Configuring an SMTP plugin resolves most delivery problems.
After testing email delivery, set up Form Vibes before the form goes live so every real submission is captured to the database from day one.
Important: Always set up Form Vibes before the form goes live — not after you notice a missing submission. Once a submission is lost in CF7, there is no way to recover it. Form Vibes needs to be install & active from the first real submission.
What Happens to CF7 Submissions When Email Fails?
Without Form Vibes, the answer is nothing. Contact Form 7 sends the submission data by email and stores no copy in the WordPress database. If the email fails to deliver for any reason, server configuration, spam filter, full inbox, or a temporary outage, the lead is gone with no recovery path.
This happens more often than most site owners realise. Shared hosting mail servers are frequently misconfigured. Notification emails from contact forms are often caught by spam filters. Mail (2) auto-response emails are particularly prone to being flagged as automated messages.
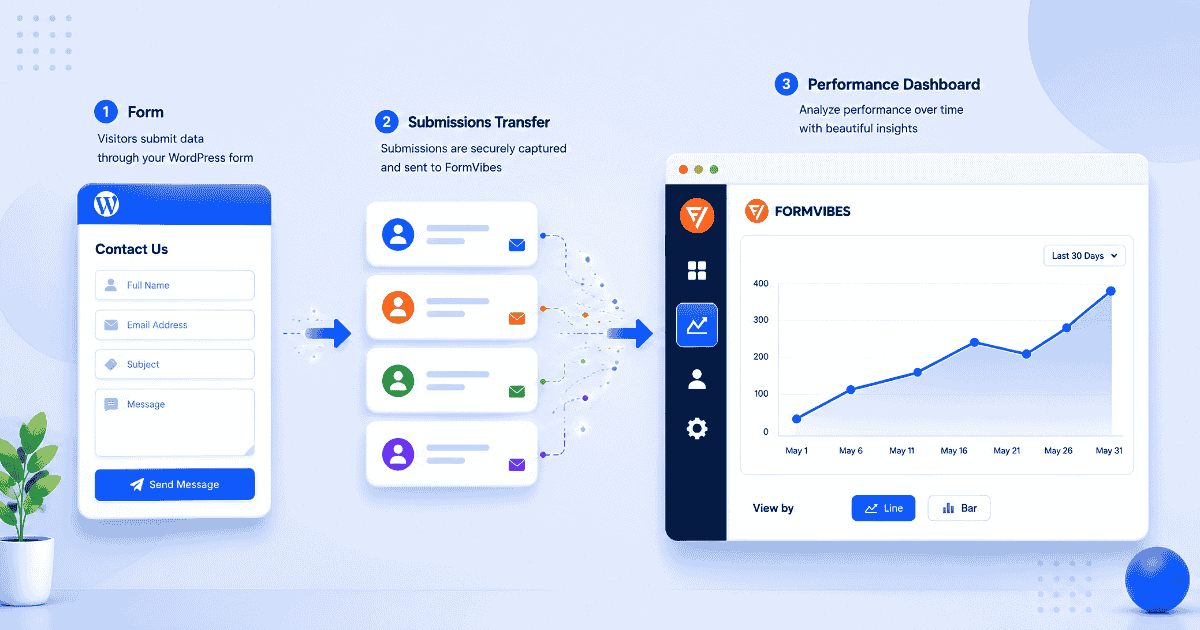
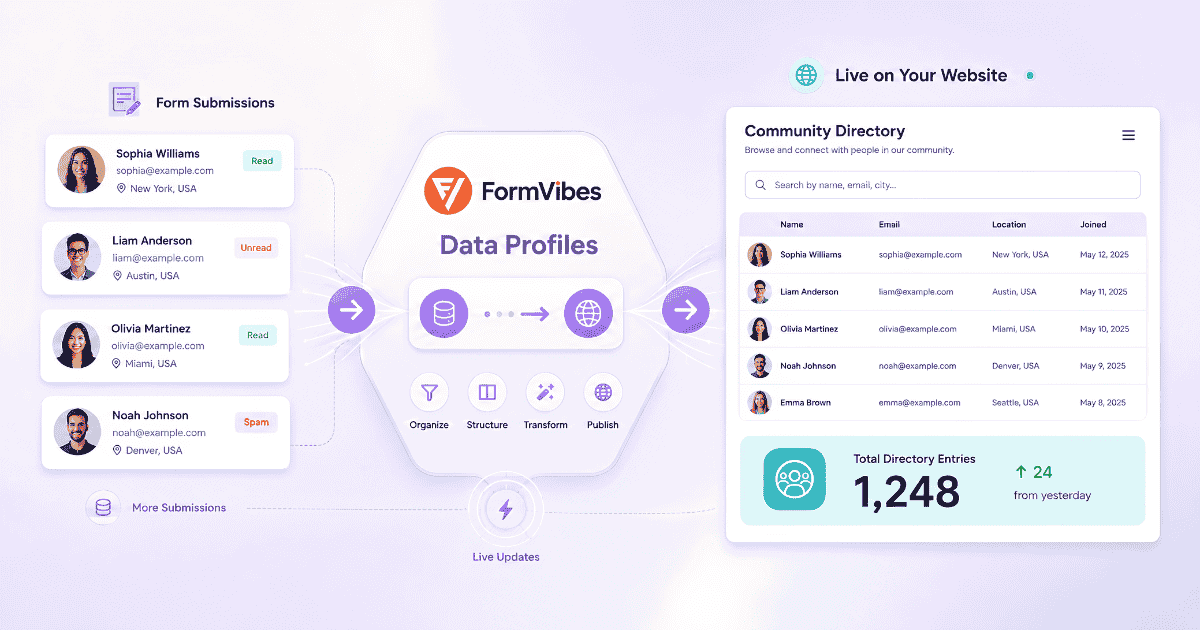
Form Vibes captures every CF7 submission to the WordPress database the moment it is submitted, before the email notification fires. Even if every email fails, the entry is in Form Vibes.
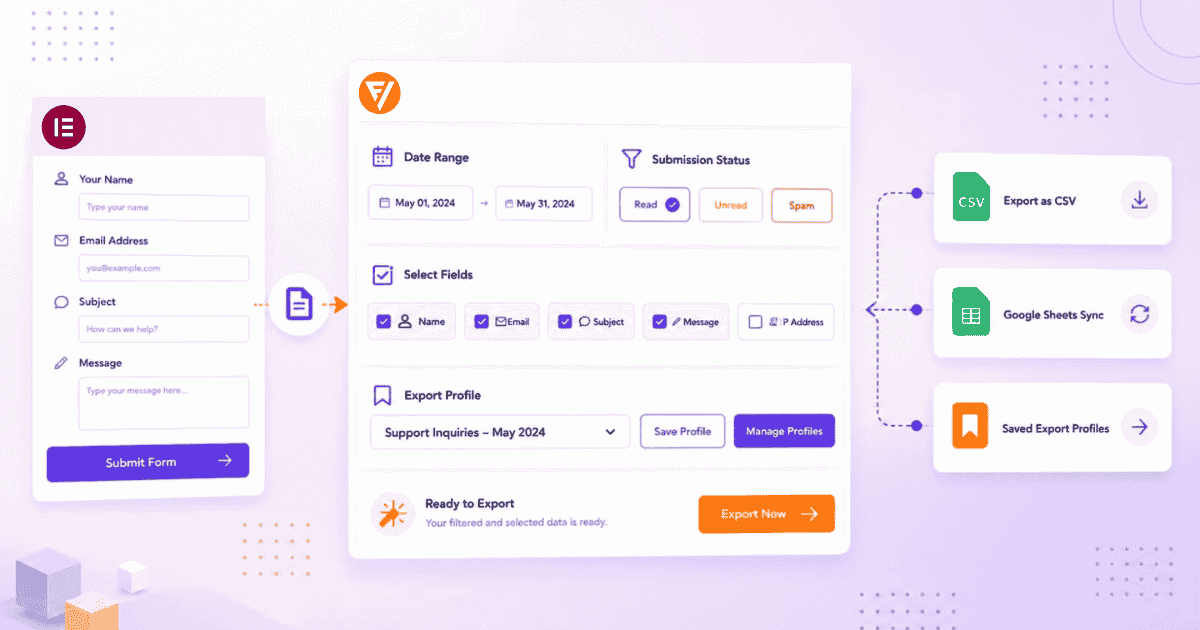
With Form Vibes active, every CF7 lead is viewable at Form Vibes > Submissions, filterable by date range, exportable to CSV, and trackable with analytics charts. The Event Log records every change made to any entry. All of this is available in the free version.
For the full step-by-step guide to setting up Form Vibes with Contact Form 7, see How to Save Contact Form 7 Submissions in WordPress.

Conclusion
Contact Form 7 is fast to set up and reliable for form creation. The configuration that most site owners skip, Reply-To, Mail (2), and database storage is what determines whether leads actually reach your team and stay retrievable when email delivery fails.
Set up CF7 with the Mail tab configured correctly, add Form Vibes before the form goes live, and every lead your site collects is captured reliably from the first submission.
Stop losing CF7 submissions to email failures
CF7 relies entirely on email delivery. Form Vibes stores every submission in your database the moment it arrives, so missed emails stop meaning missed leads.
Frequently Asked Questions
Common questions about configuring Contact Form 7 in WordPress.
Does Contact Form 7 require any configuration after installation?
Contact Form 7 creates a working default form automatically on activation. For basic use, you can embed it with the shortcode and it will send submissions by email straight away.
What is the Reply-To field in CF7 and why does it matter for leads?
The Reply-To field tells your email client where to send a reply when you respond to a CF7 notification email. Set it to the field tag for your email input, typically [your-email]. Without this, replying to a CF7 notification sends your response to your own notification address rather than to the lead who submitted the form.
Can I send an auto-response email with Contact Form 7?
Yes. Enable the Mail (2) option in the Mail tab of your CF7 form settings. Configure it with the To field set to the submitter’s email field tag, and write a confirmation message in the body. Mail (2) fires simultaneously with the main Mail action whenever someone submits the form, sending a confirmation to the lead automatically.
What does the Mail (2) option do in Contact Form 7?
Mail (2) is a second email notification that fires on the same form submission as Mail (1). While Mail (1) sends the notification to your team, Mail (2) is typically used to send an automatic confirmation to the person who filled out the form. Both fire from the same submission without any additional configuration or plugins required.
Why is my Contact Form 7 email not arriving?
The most common cause is the default mail configuration on shared hosting servers, which frequently have poor deliverability or are blocked by recipient spam filters. Install an SMTP plugin such as WP Mail SMTP and configure it to send CF7 notification. Also check your spam folder before assuming the email is not being sent at all.
Leave a Reply