Let Clients View Form Submissions Without a WordPress Login
Your client wants to see their form submissions. You do not want to give them WordPress admin access and you should not have to.
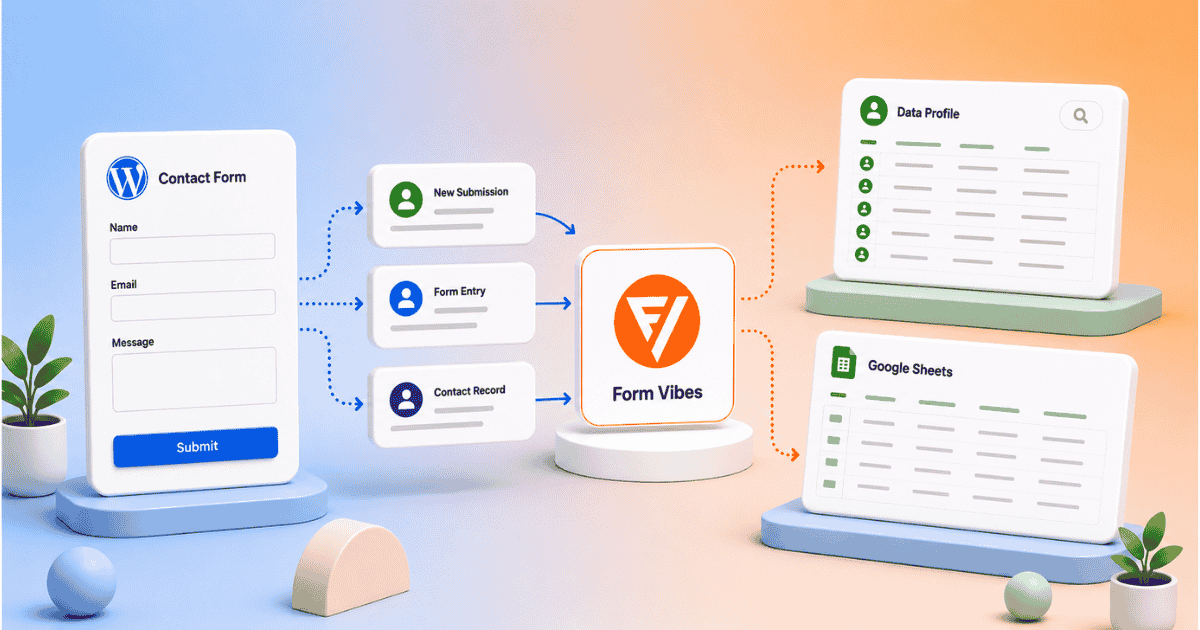
Form Vibes Pro gives you two clean ways to share submission data with clients without handing over your WordPress dashboard. The first displays submissions on a page your client can open from any browser. The second syncs submissions automatically to a Google Sheet the client can access like any shared spreadsheet.
Neither method requires the client to have a WordPress account or log into the dashboard at any point.
Why not just give clients WordPress access?
A WordPress login even a Subscriber account gives the client access to the dashboard, update notifications, plugin notices, and areas of the site that have nothing to do with their form submissions. Non-technical clients with WordPress access generate support questions that take time to handle.
A dedicated page that shows only their submissions is a cleaner, more professional deliverable. The client gets exactly what they need, nothing more.a
Form Vibes Pro gives you everything you need to share form data with clients professionally – Data Profiles and Google Sheets sync. No client WordPress login needed.
Method 1 – Display submissions on a page your client can visit
Create a Data Profile in Form Vibes Pro, add the shortcode to a WordPress page, and share the URL with your client. The client opens the link in any browser and sees a live table of their submissions, no WordPress login, nothing to install.
Create a Data Profile
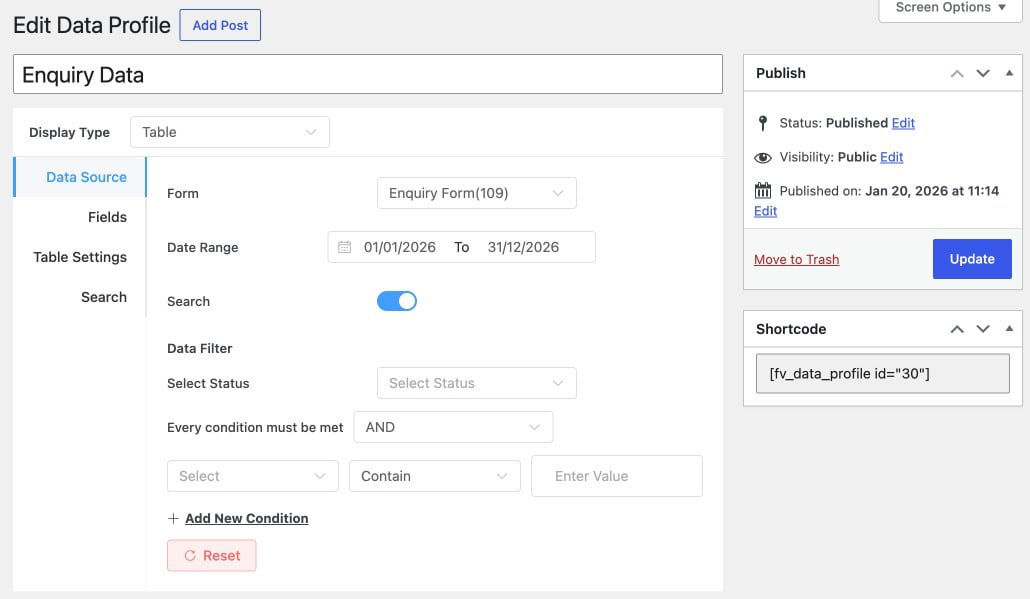
Go to Form Vibes → Data Profile and click Add New. Set the Display Type to Table.
Configure the four tabs:
Data Source – select the client’s form. Set a date range if needed and add any data filters to control which submissions appear in the table.
Fields – toggle off any fields you do not want the client to see. Internal fields like IP address, user agent, and submission ID are usually not relevant for clients, hide them here. You can also edit the column labels to use friendlier names for the client.
Table Settings – set the default rows per page and enable pagination if the form receives a high volume of submissions.
Search – toggle on Search in the Data Source tab first to make this tab available. Then select which columns are searchable and whether filter dropdowns appear above the table.
Once all tabs are configured, click Publish. Form Vibes generates a shortcode automatically, copy it.
Pro: Data Profiles is a Form Vibes Pro feature. For a full walkthrough of every setting, see the guide on how to display form submissions on your website with Form Vibes.
Add the shortcode to a page
1
Create a new WordPress page
Go to Pages → Add New in your WordPress dashboard. Give it a name for example the client’s business name or “Your Enquiries.”
2
Add the shortcode
Add a Shortcode block in the page editor and paste the Data Profile shortcode in.

3
Publish the page
Click Publish. The page is now live and accessible to anyone with the URL.
Share the URL with your client
Copy the published page URL and send it to your client. They open it in any browser and the Data Profile table loads, showing their form submissions live.
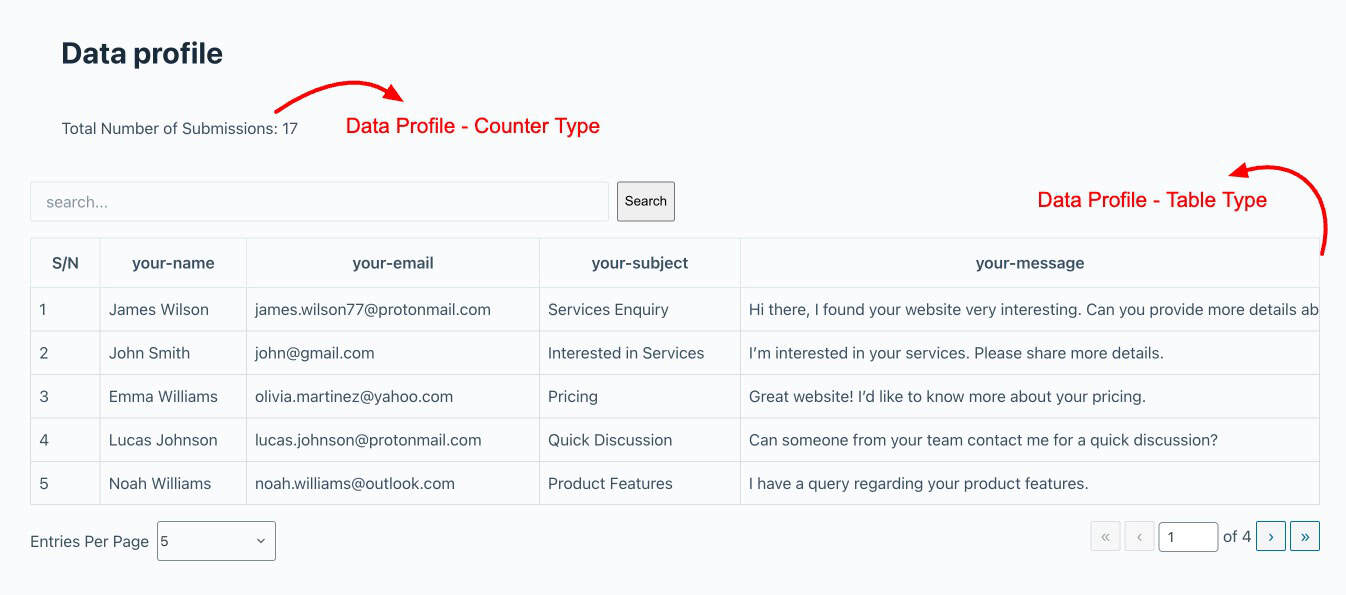
The table updates automatically with every new submission. The client does not need to contact you for updates or log into WordPress at any point.
Notes: The page is publicly accessible and anyone with the URL can view it. If you only want the client to have access, share the URL directly with them rather than linking to it from your site’s navigation or sitemap.
Method 2 – Sync submissions to Google Sheets and share the link
Set up a Google Sheets Export Profile in Form Vibes. Every new submission syncs to the connected sheet automatically. Share the Google Sheet link with the client as a Viewer, they open it like any shared spreadsheet and see their submissions without any WordPress involvement.
Set up a Google Sheets Export Profile
1
Connect your Google account
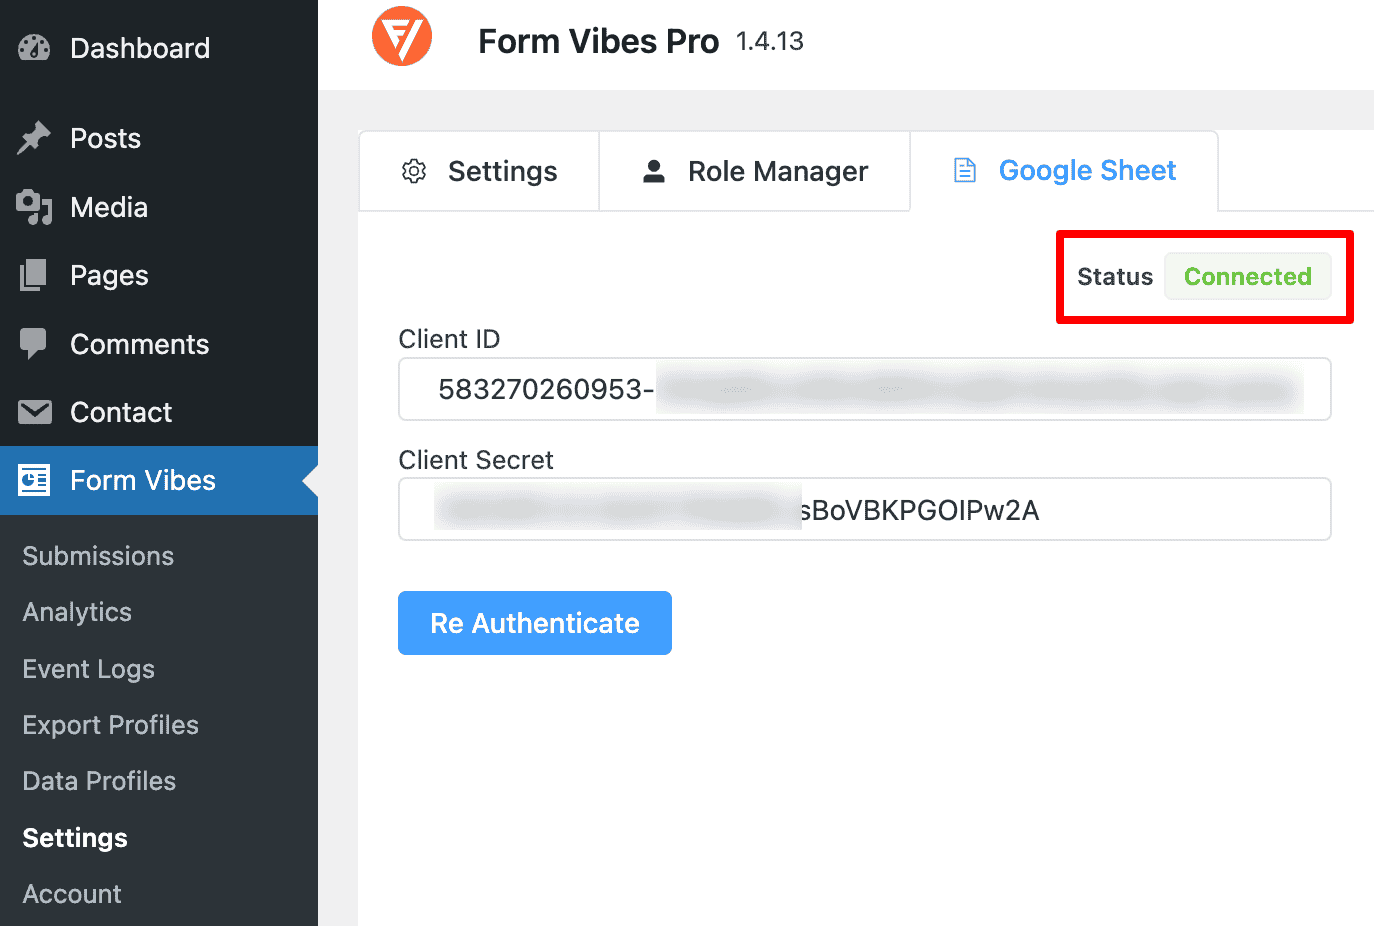
Follow the connection guide to authorise Form Vibes with your Google account. Then go to Form Vibes → Settings → Google Sheet and enter the generated keys.
2
Create a new Export Profile
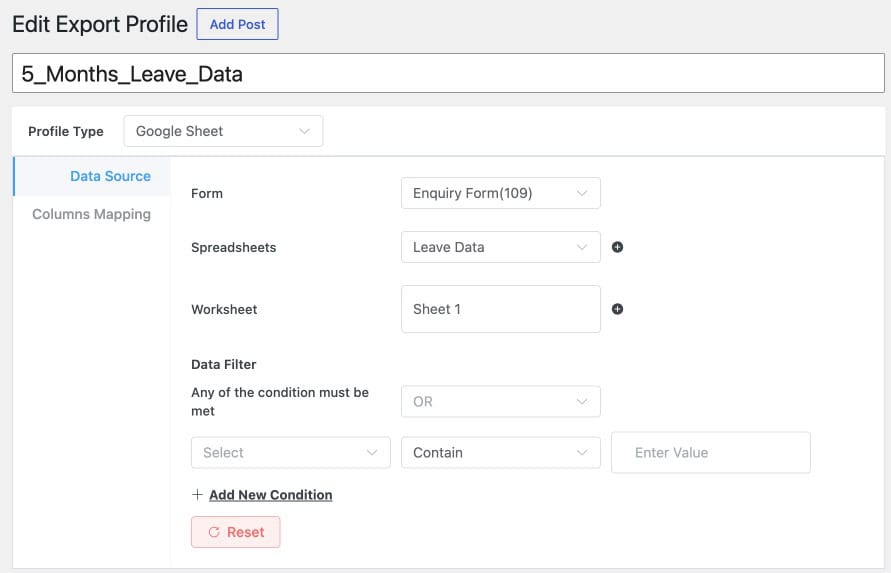
Go to Form Vibes → Export Profiles and click Add New. Select Google Sheet as the output type.
In the Data Source tab, select the client’s form. Set a date range and add any filters if needed.
Choose the Google Spreadsheet and the specific sheet tab where submissions should appear. Map each form field to the corresponding column in the sheet.
3
Publish
Click Publish to activate the sync. Submit a test entry through the form to confirm it appears in the sheet correctly.
Pro: Google Sheets sync requires a Form Vibes Pro Export Profile. For a full walkthrough, see the guide on how to export your form submissions in Google Sheet.
Share the Google Sheet with your client
- In Google Sheets, click the Share button in the top right corner.
- Enter the client’s email address in the sharing dialog.
- Change the role to Viewer. This means the client can see the data but cannot edit or delete any rows.
- Click Send. The client receives an email with a direct link to the sheet.
Tips: Always set the sharing permission to Viewer not Editor. This ensures the client can read their submission data but cannot accidentally modify or delete rows in the sheet.
Which method should you use?
Both methods give clients access to their submissions without a WordPress login. The right choice depends on the experience you want to deliver and what your client is comfortable with.
Use Method 1 (Data Profile page) when:
- You want a clean view on your own website
- The client is not comfortable with spreadsheets
- You want to control exactly which fields are visible
- You want the client to be able to search and filter their submissions
Use Method 2 (Google Sheets) when:
- The client is already comfortable working in Google Sheets
- You want zero ongoing maintenance after setup
- The client needs to filter, sort, or share the data internally themselves
- You want the data in a portable, shareable format
Conclusion
Two methods, one goal, giving clients access to their form submissions without handing over your WordPress dashboard.
Method 1 gives you a clean, branded view on your own site that the client can bookmark and revisit any time. Method 2 gives you a low-maintenance spreadsheet the client can open, filter, and share from anywhere.
Give clients access to their form data
Form Vibes Pro includes Data Profiles, Google Sheets sync, and Export Profiles. Share submission data professionally without handing over admin access.
Frequently Asked Questions
Common questions about sharing form submissions with clients without WordPress login.
Does the client need a WordPress account for either method?
No. With Method 1 the client visits a URL in any browser and sees their submissions immediately, no WordPress account needed. With Method 2 the client opens a Google Sheets link, no WordPress account needed. Neither method requires a WordPress login at any point.
Can the client edit or delete submissions using either method?
No. With Method 1 the Data Profile table is view-only, the client can search and filter but cannot edit or delete entries. With Method 2 set the sharing permission to Viewer in Google Sheets to prevent the client from modifying any data in the sheet.
Does the Data Profile table update automatically when new submissions come in?
Yes. The Data Profile pulls live data from Form Vibes. Every new submission that meets the profile’s filter criteria appears in the table automatically — no refresh needed and no action required from you or the client.
Do both methods require Form Vibes Pro?
Yes. Data Profiles and Google Sheets Export Profiles are both Form Vibes Pro features. See the Form Vibes Free vs Pro comparison for everything Pro includes.
Can I use both methods at the same time for the same client?
You can set up both a Data Profile page and a Google Sheets Export Profile for the same form. Some agencies use the Data Profile page as the primary client view and the Google Sheets sync as a backup or for internal reporting. Both run independently and do not interfere with each other.
Leave a Reply